Clayton Undertype Steam Lorry
"Never buy an unfinished project" runs the old adage and there's lots of truth to it.
I was very lucky with this one, a complete set of parts with the main chassis already built up and a boiler with the Reeves paperwork.
The boiler was dated 2005, so I assume that this is probably the age of the rest of it. It had been built by a chap in Birmingham and he's done it pretty well.
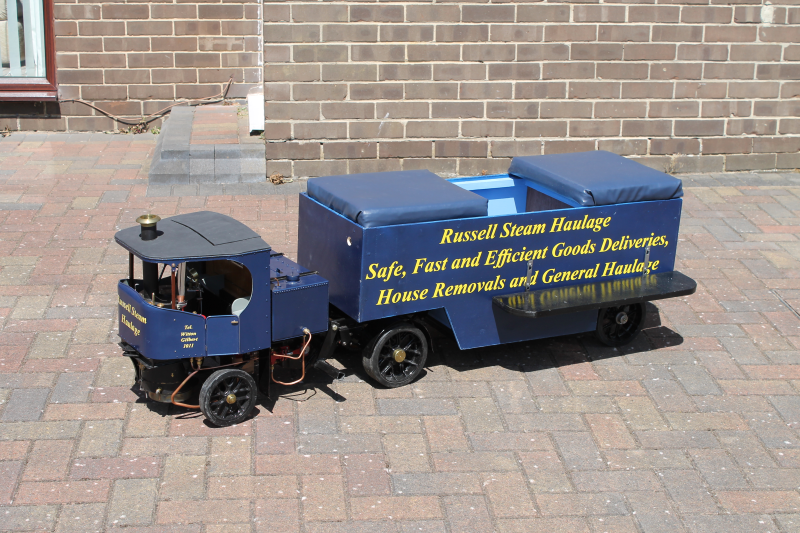
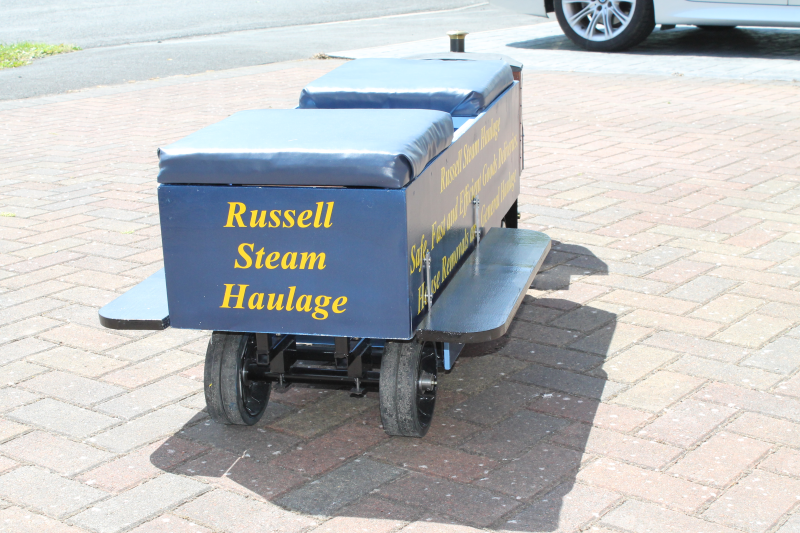
So I set to and built it up and also - with the help of a club colleague - built a trailer to sit on.
The model had been intended to be coal fired, but I, being of the 'old curmudgeon school' decided that I would use gas.
Several iterations of gas burner followed until I arrived at one which I think will work.
Anyway, enough waffle, here's some pics
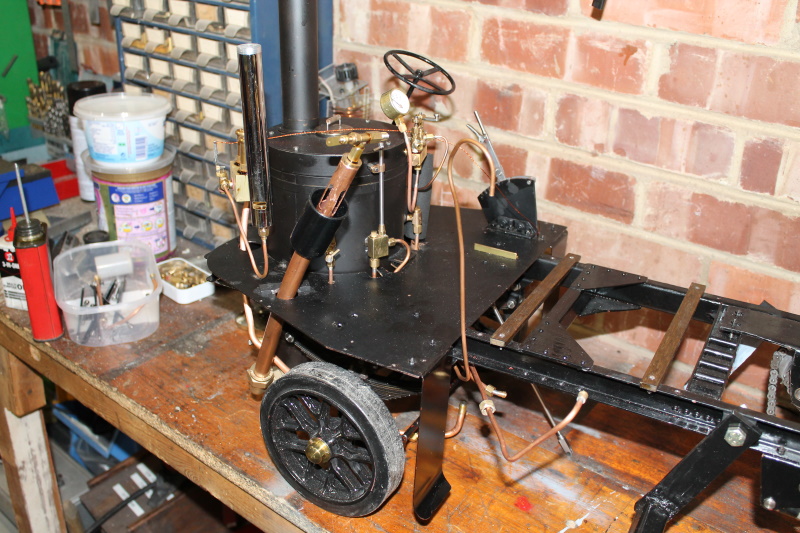
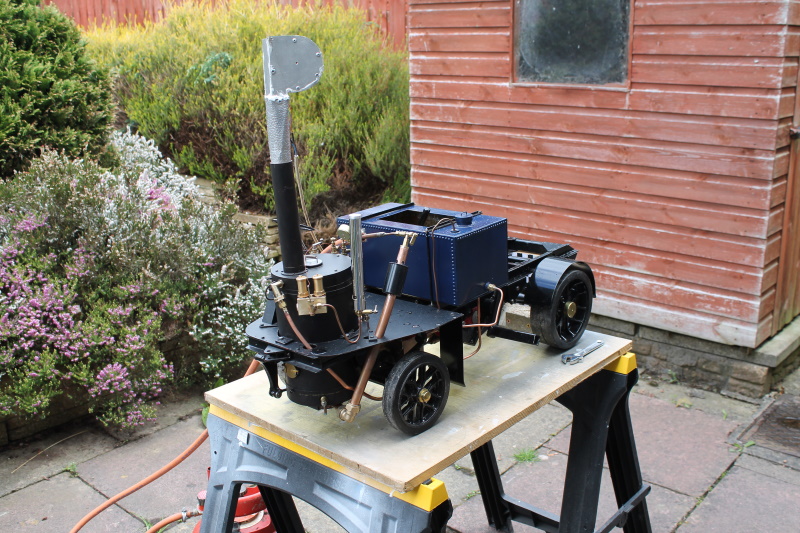
General view. The black cylinder around the air intake is to try to shield it from wind.
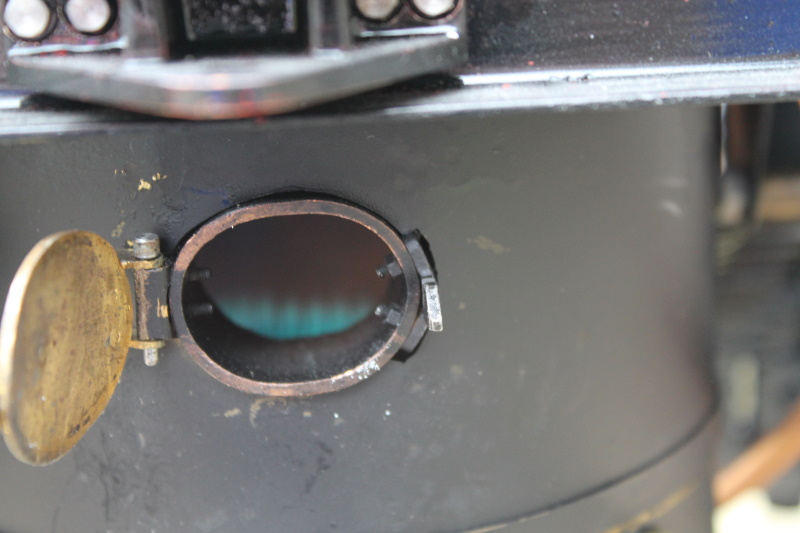
No, it's not the fire door, it's the ash clearing door.

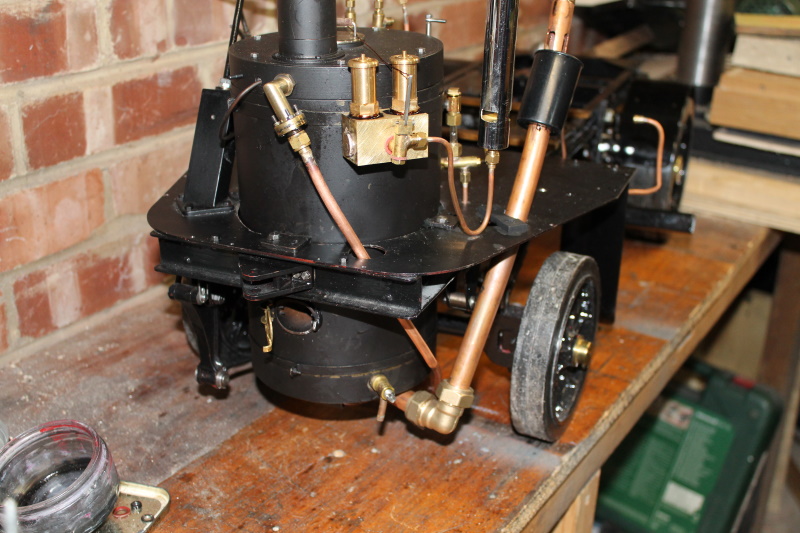
A better view of the burner in place.
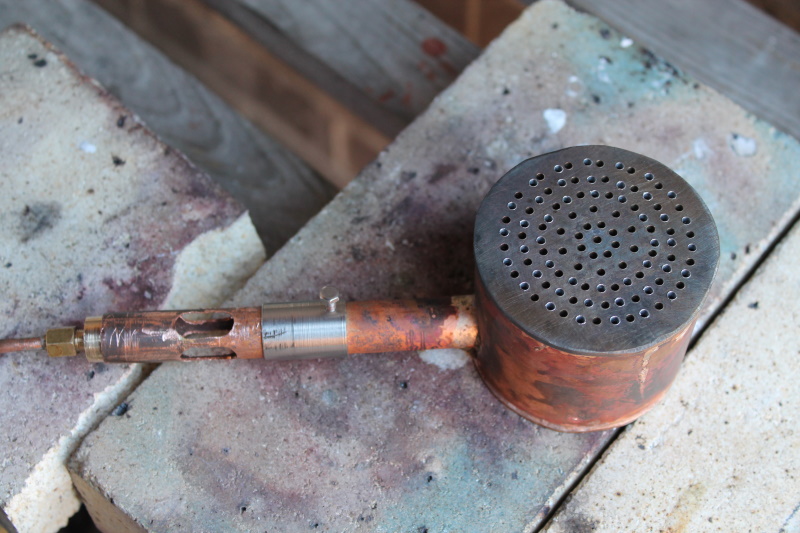
The burner - first working model.
This burner had 65 holes which were gradually increased from 1.5 to 2.4 mm and the number of holes increased to 129.
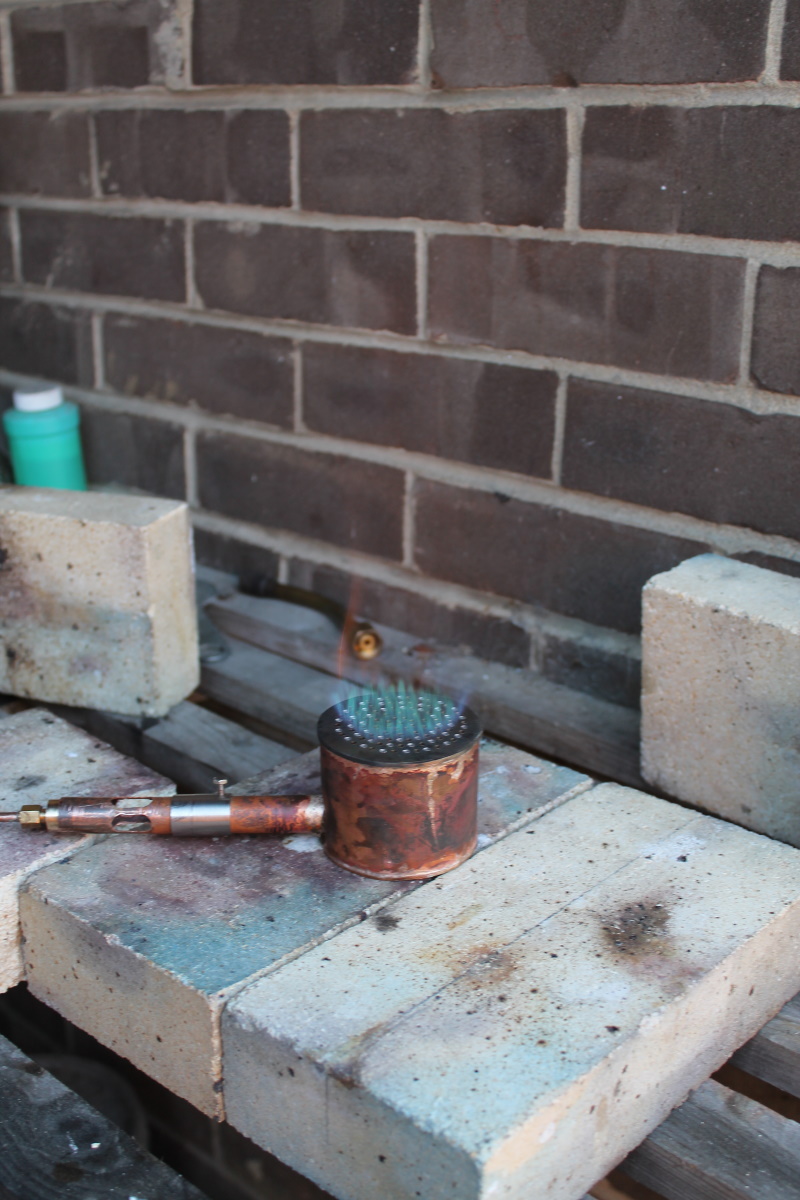
A few more holes and thar she blows!.
Set up for the first steam test.
Time to put the steam blower on.
A good fire in the hole.
This test showed that there might not be enough fire to maintain the level of steam required, but as the engine was not quite as it should have been, I reserve judgement.
On a subsequent steam test I found that the engine had siezed. Investigation - i.e. stripping it all down - showed that it was gummed up with dried graphite and oil. Well, it had stood idle for 15 years!.
Stripping down meant that I had to split the cylinder block from the crankcase. Putting it all back together proved a bit difficult. Actually, that's not true, it was so awkward that after about 6 hours of trying to get the Joy valve gear re-assembled it got to the point where I was about to take a 10 lb hammer to it.
So I stopped.
For 2 days.
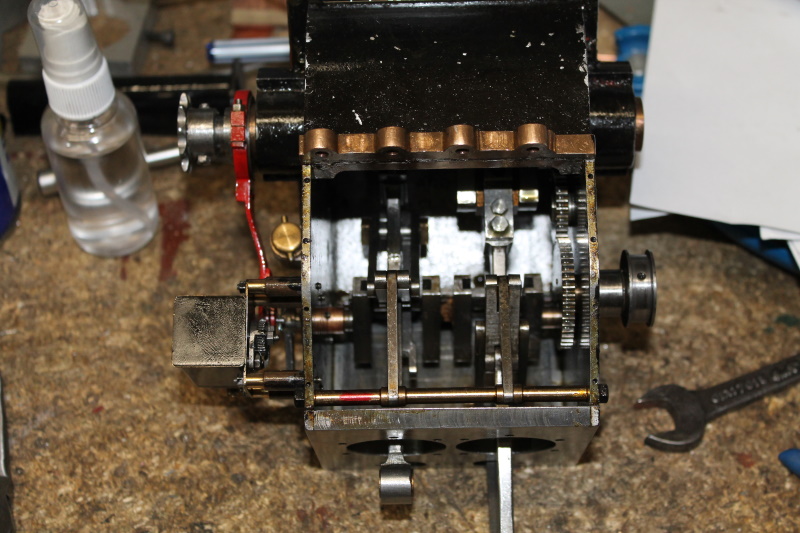
The crankcase with its Joy valve gear.
So then I started again and I had it the valve gear together again in about an hour.
It took about 3 more hours to assemble the whole thing and check and re-set the timing.
Today, I steamed it up again and SUCCESS!
Jut to prove it I shot this video..
Download Video:
Closed Format: "MP4"
Well, that was encouraging, but not quite there yet. Although I could get up to 100 psi in about 10 minutes, as soon as I started to run the pressure dropped down to 50 or so and I couldn't get it back.
No matter what I did, I couldn't improve it so, just to prove the point, I completed the neccessary bits (grate, ashpan etc) and ran it on coal.
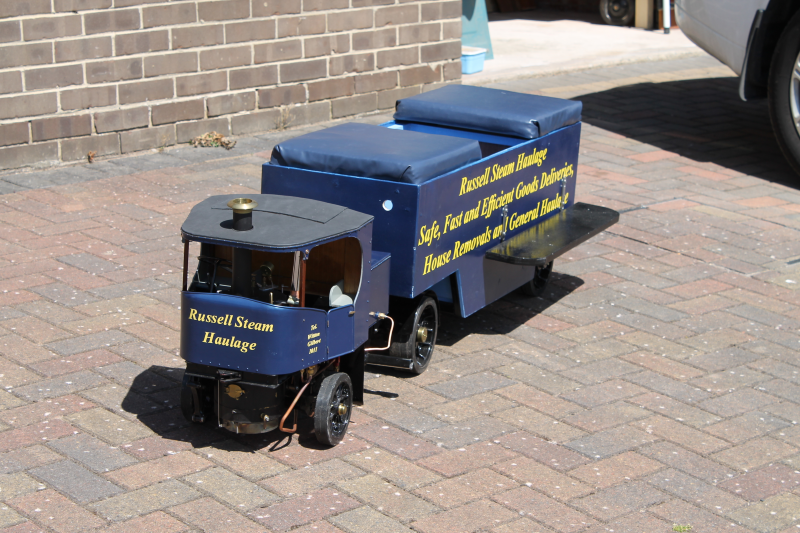
What a difference! I tried it outside complete with trailer and it just about took off.
It scared the life outta me! I'm not used to driving steam, but I soon will be.
So, for the time being - until I build a new gas burner - I'll be running on coal.
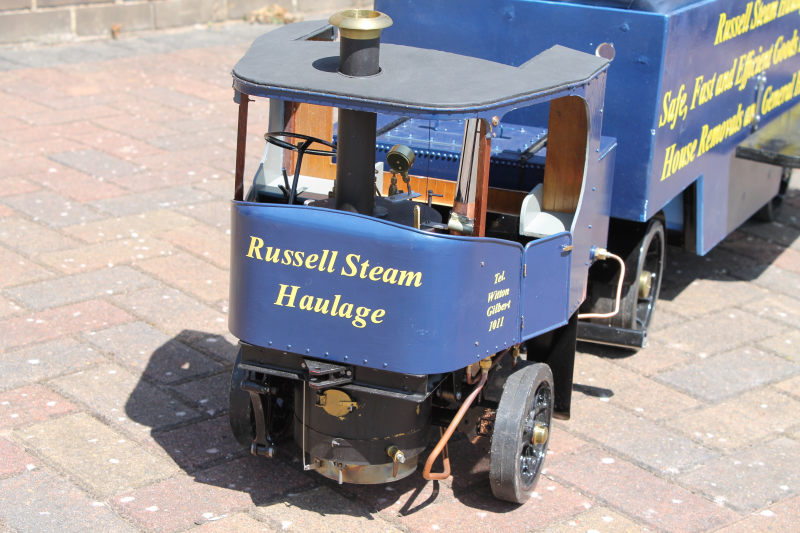
As I now consider phase 1 of the project finished, I've finished off mounting the cab and apron and I must say, I like what I see. All I have to do now is put the transfers onto the trailer. That's for tomorrow.
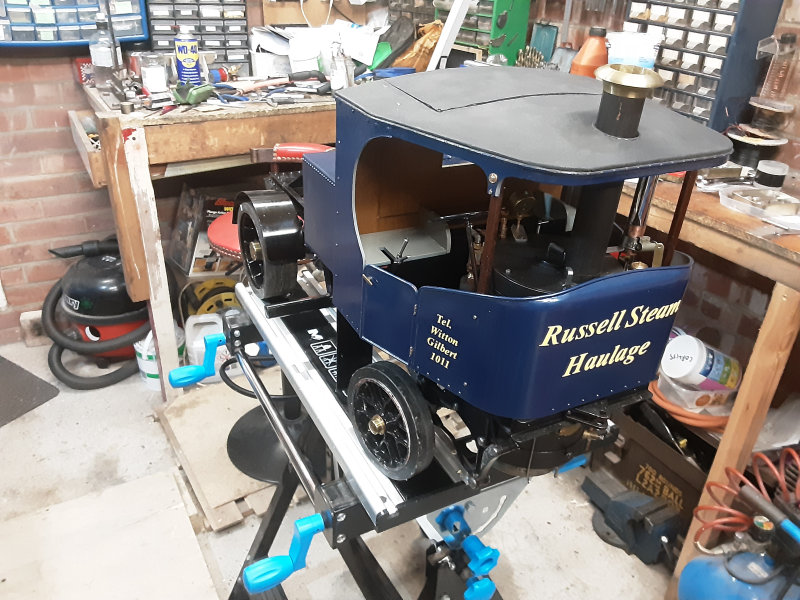
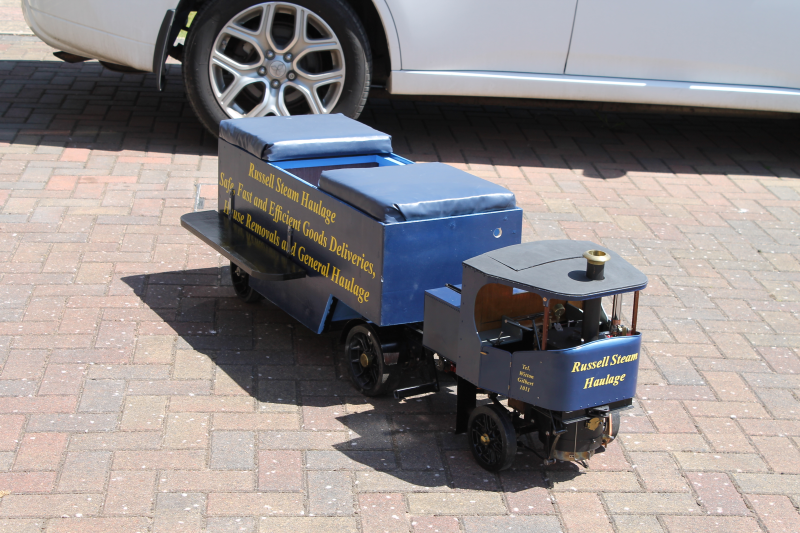
Coal fired and in full livery
Just a little fly in the ointment - well 2 actually. First, it's very difficult to see the water level - especially as I have installed the feedwater heater. Second, with the cab roof in place I can't see down the coal chute anymore. Makes it a bit difficult to control the fire.
Mirrors perhaps?
Anyway, time for a few more photos.
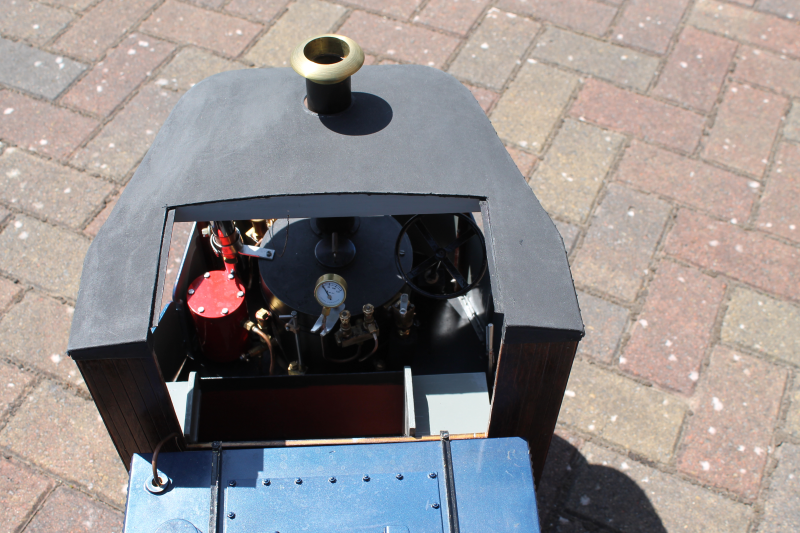
Note the coal chute and the water gauge (left of the boiler).
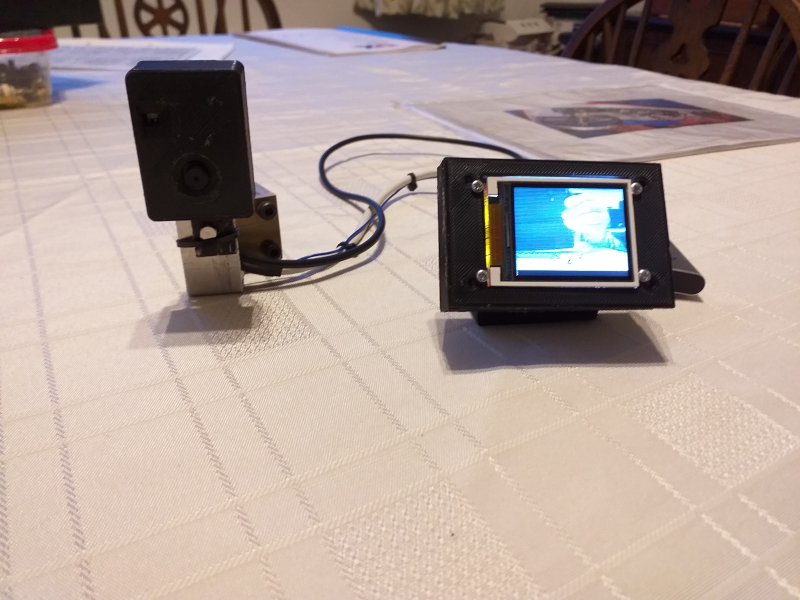
Well, I solved the water gauge problem by using a ESP32Cam - an arduino based video system - and a small monitor which I can clip to the top of the cab. Not perfect perhaps, but it does the job.
The other thing I wasn't too happy about was the gas burner. Yes, it got the boiler up to pressure, but it couldn't maintain it.
A fellow member pointed out an article in "Engineering in Miniature" on the subject of gas firing a large 5 inch gauge loco. It turned out that I knew the author - he was a member of an internet mailing list which I subscribe to. He had developed a strange and rather complex burner and had put 6 of them in line in his loco firebox with great success.
So I set to and built a 'ring of 3' burner which was more suitable for a vertical boiler.
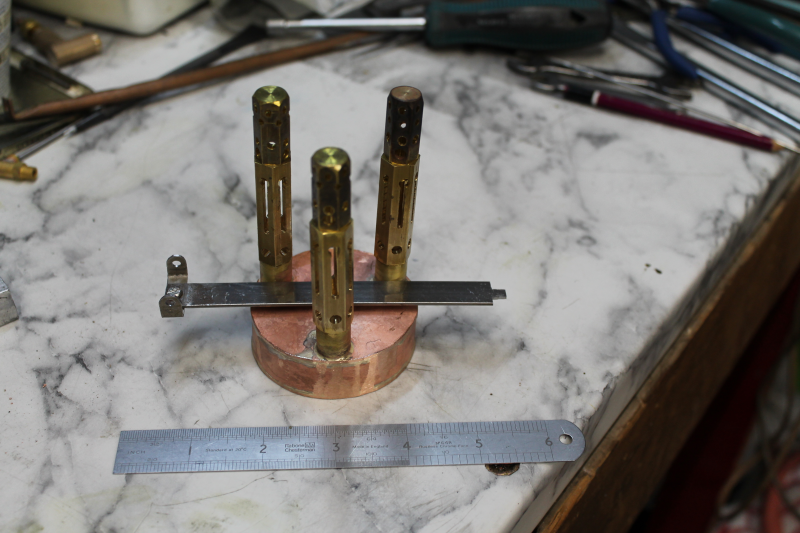
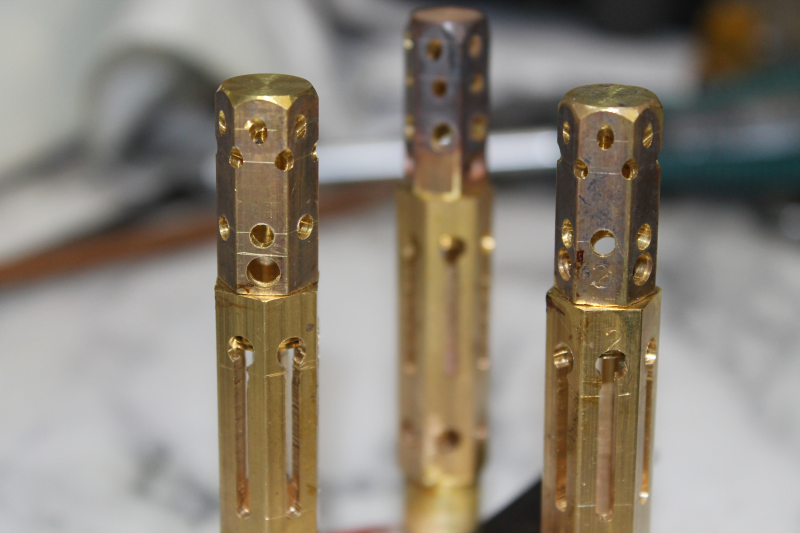
They say that the proof of the pudding..... so let's have a taste then!
Download Video: Closed Format: "MP4"